
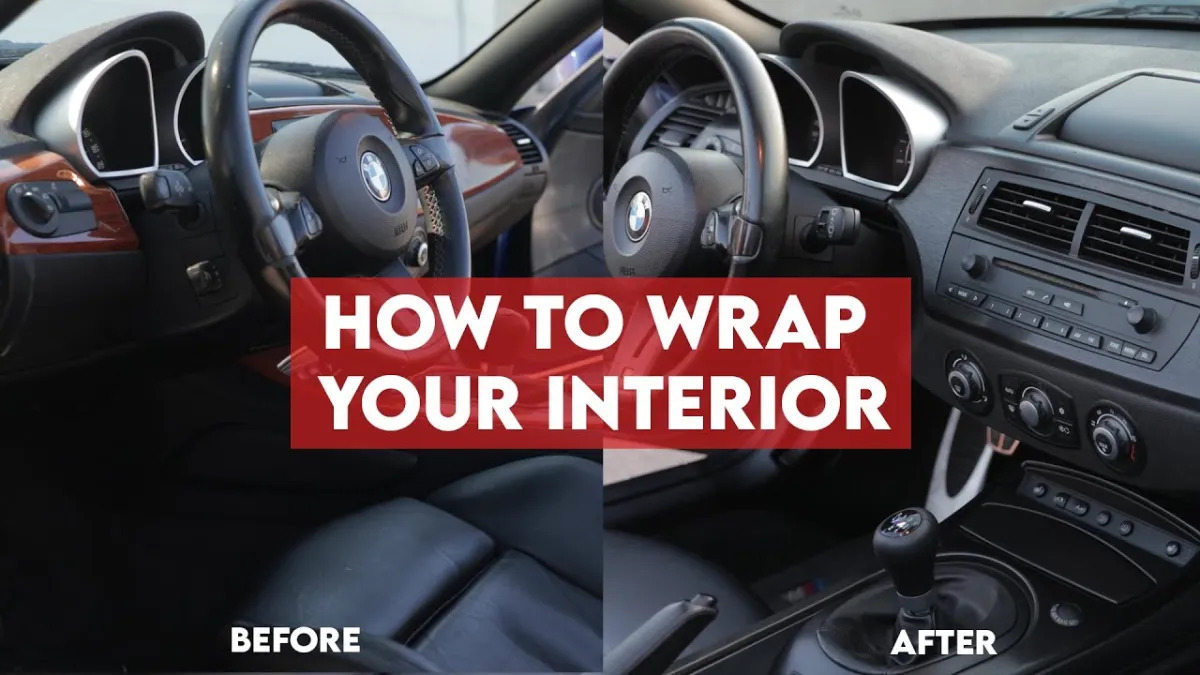
Wrapping your car's interior can be a fun and creative way to customize its appearance. Whether you want to change the color, add a pattern, or protect the original surfaces, wrapping can provide a fresh look. Here's a general guide on how to wrap your car's interior:
-
Gather the necessary materials:
- Vinyl wrap: Choose a high-quality vinyl wrap that suits your style and fits the dimensions of the areas you want to wrap. Consider getting extra material in case of mistakes or for future repairs.
- Squeegee: A squeegee with a felt or microfiber edge will help you smooth out the vinyl and remove air bubbles.
- Heat gun or hairdryer: These tools are used to heat the vinyl, making it more pliable and easier to conform to curves and edges.
- Utility knife or precision cutting tools: You'll need these for trimming excess vinyl and making precise cuts.
- Cleaning supplies: Gather some cleaning solution, microfiber cloths, and other tools to ensure the surfaces are clean and free from debris before applying the vinyl.
-
Plan your approach:
- Decide which parts of the interior you want to wrap. Common areas include the dashboard, door panels, center console, trim pieces, and other plastic or metal surfaces.
- Measure the dimensions of each area to be wrapped, and add some extra material for overlapping and trimming.
-
Prepare the surfaces:
- Thoroughly clean the surfaces you plan to wrap. Remove any dust, dirt, or grease using an appropriate cleaning solution and microfiber cloths. This step is crucial for proper adhesion of the vinyl.
-
Start wrapping:
- Begin with a small and easily accessible area to gain some practice and confidence before moving on to larger sections.
- Cut the vinyl wrap to size, leaving some excess around the edges for trimming later.
- Peel back a small portion of the backing paper from the vinyl and position it carefully on the surface, aligning it properly.
- Gradually peel away more of the backing paper while smoothing the vinyl onto the surface using the squeegee. Apply gentle pressure to remove any air bubbles and ensure good adhesion.
- Use a heat gun or hairdryer to warm the vinyl as needed, especially around curved or complex areas. The heat will help the vinyl stretch and conform to the shape.
- Continue applying the vinyl, section by section, until you've covered the desired areas.
-
Trim and finish:
- Once all the vinyl is applied, use a utility knife or precision cutting tools to trim the excess material along the edges. Take your time and make precise cuts.
- For areas with buttons, switches, or other features, carefully cut around them using a small blade or sharp tool.
- Pay attention to the corners and edges, ensuring the vinyl is neatly tucked and adhered.
- Use the heat gun or hairdryer again to warm and press the vinyl around edges and curves for a smooth and seamless finish.
Remember, practice and patience are key when wrapping your car's interior. If you're unsure or lack experience, it might be helpful to consult professionals or watch video tutorials specific to your car model for additional guidance.
0 Comments